Linux printer color calibration
I print pictures on my color laser printer (Canon LBP612CDW). When I needed to print a passport photo I found that the skin tones were off; there was a strong red shift in the skin.
In order to create better prints I calibrated my printer profile with the aid of a flat-bed scanner.
I work in Linux (Ubuntu 22.04) and preformed this calibration using ArgyllCMS, a freely available color calibration tool for Linux. ArgyllCMS was available directly from the Ubuntu repository.
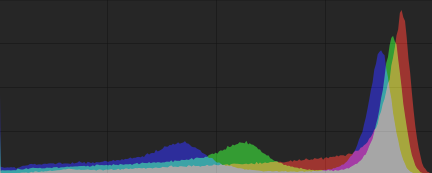
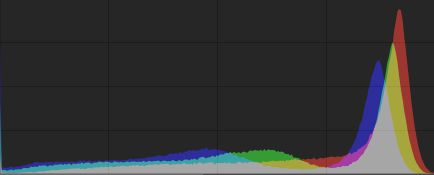
The goal was to have a resonable physical copy of an image for submission with a passport application. First I show a scan of the first print, then a scan of the photo printed with a custom ICC profile, followed by the commands I used to generate an ICC calibration for the printer in Linux.


The ICC profile applied to the image print greatly improved the print. The steps I used to create the profile follow.
Argyll's documentation indicates this is not recommended method for calibration, but it served my purpose and greatly improved the quality of the color prints on my laser printer.
The first step was to install ArgyllCMS. This software was available in the standard ubuntu repositories. Once installed I could generate images to use for calibration with a scanner. The following two commands were executed. (documentation for the programs can be found on the Argyll website linked at the top)
targen -v -d2 -f1924 Canon612
printtarg -v -s -iSS -pLetterR Canon612
These command result in a Letter sized postscript document for printing with two pages (-d2), "Canon612.ps". Additional outputs included "Canon612_01.cht" and "Canon612_02.cht" which are needed in a later command. These additional files correspond to the two different pages in the print file. "Canon612" is an identifier for the files that I chose arbitrarily.
"Canon612.ps" is printed on the target printer. These pages contain rectangular color patches that the software will interpret to adjust the colors. These two prints need to be scanned for the changes in color between the prints and orginal document to be interpreted. The printed and scanned files were named "Canon612_1.tiff" and "Canon612_2.tiff". There is one image for each page of the original document.
I used a work-arround for my lack of scanner profile in the next step. I just assumed the calibration of my scanner was reasonable and substituted a reference calibration from Argyll for my scanner's profile, “/usr/share/color/argyll/ref/sRGB.icm”. The first page files use “-c” option and the second page uses “-ca”.
scanin -v -c Canon612_1.tiff Canon612_01.cht /usr/share/color/argyll/ref/sRGB.icm Canon612
scanin -v -ca Canon612_2.tiff Canon612_02.cht /usr/share/color/argyll/ref/sRGB.icm Canon612
These commands used the scanned pages, the chart files generated in the first step, and the substitute scanner "icm" file to generate an intermediate file used by the last command, "colprof".
colprof -v -D”Canon 612C” -qm -S /usr/share/color/argyll/ref/sRGB.icm -cmt -dpp Canon612The last command generated the final calibration file, “Canon612.icc”. The name displayed in linux, "Canon 612C", was supplied in the final comand. The final ICC profile was added for the printer in the desktop environment, in my case KDE.