My Workbee CNC
I had wanted a CNC setup for a long time. I already have a 3D printer, which is good for small odd 3D shapes fabricated from plastic, but it cannot do large items. The addition of a Workbee CNC to the shop would enable me to make large parts quickly from flat materials.
In late 2019 I began acquiring parts piecemeal for a Workbee CNC router.
A Duet 2 WIFI board and power supply were acquired first. Using firmware downloaded from the developers of the original Workbee I configured the control board.
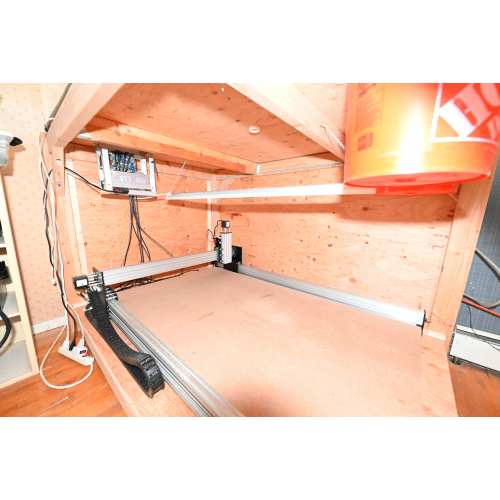
In early 2020, I settled on a configuration large enough to fabricate any furniture and parts I could foresee. With a final size decided, I designed and built its enclosure. Having dedicated space for the build, I purchased Workbee CNC clone kit.
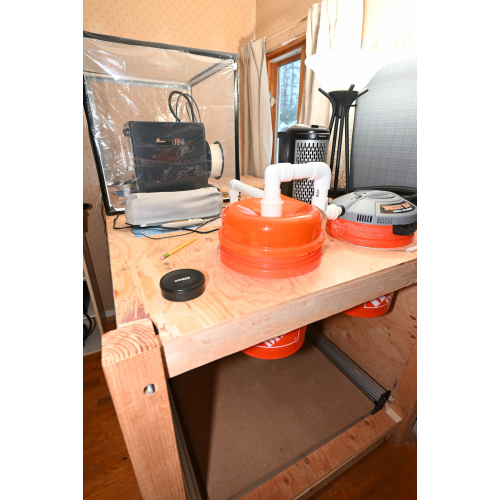
During 2020, I received and assembled the Workbee. By February 2021, I was putting the final touches on my dust capture system. The following images were taken as the router neared completion.


Having been assembled, the CNC was tested, then calibrated. With a 3D printed pen holder mounted, I tested the setup by plotting words on paper. Next, having mounted a Makita router, I cut a dimensioned block from wood and calibrated the controller.
Initial g-code was generated using a utility I wrote in C++ and Bash scripts, but this was too slow for more complex parts and I wrote an more complete program to simplify the process. This new tool was used to create my first CNC projects. I created a part rack consisting of a grid of holes that holds repurposed pill containers for parts. Additionally, a wire spool organizer was built.
I continue to develop my g-code generation software, and look forward to many future projects.